
Beginner's Guide to Recording Audio Stories with One Narrator and Minimal Gear
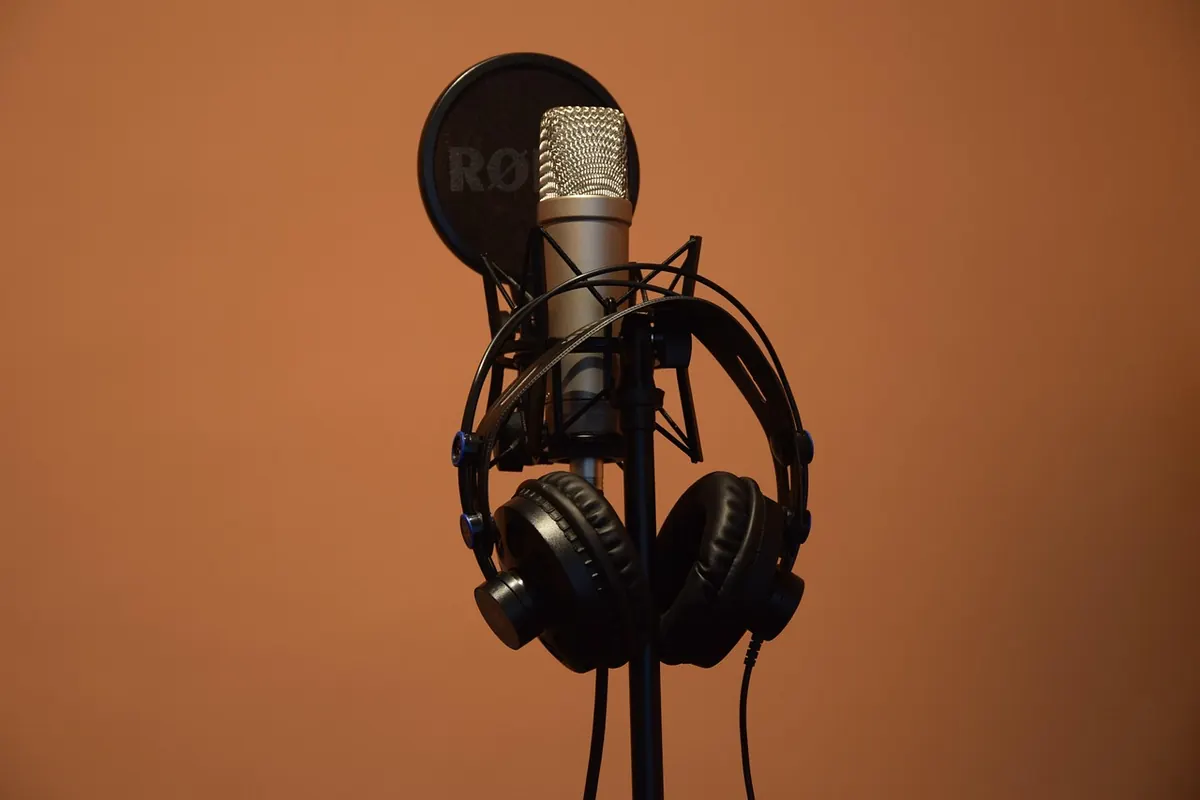
A listenable audio story rarely hinges on the microphone. It hinges on how the script was prepared, where the recorder sat, and how much restraint you show during cleanup. One narrator, one microphone, and a genuinely quiet room are enough to produce something people will hear to the end. What follows is a working order for your first few sessions — the sequence that saves the most time and the most re-recording.
Prepare the script for the mouth, not the page
Sentences that read beautifully on paper can trip you up on the fourth take. Before you touch any gear, read the whole piece aloud, once, at performance pace. You will hear the problems immediately: stacked clauses, repeated sibilants, a name you are not sure how to say, a joke that needs a beat you have not planned for.
Fix those on paper first. Reformat the document to something your eyes can scan while your attention is elsewhere: larger type, generous line spacing, numbered paragraphs, and margins wide enough for pencil marks. Mark breaths with a slash, emphasis with an underline, and pauses with a double slash. If a sentence keeps collapsing, split it. Short sentences are not a stylistic failure in audio; they are a kindness to the listener.
Do a cold read first
Record a rough, unpolished pass of the entire story before the real session. It takes ten minutes, it is throwaway, and it will surface every awkward phrase, every place where you run out of air, and every passage that is simply longer than it needs to be. Edit from that recording. Your actual session then becomes a performance rather than a rehearsal.
Choose the quietest room, not the biggest one
Small and soft beats large and echoey. A bedroom with a carpet, a curtain, a wardrobe and a bed is close to ideal. So is a walk-in closet full of coats. Avoid kitchens and bathrooms — hard surfaces, appliances, and reflections. Avoid any room with a bare wall directly behind the microphone.
Then hunt for noise you have stopped noticing. Refrigerator hum through a wall, a heating system, a laptop fan, a dimmer switch, a phone buzzing on a desk. Stand in the room, close your eyes, and listen for thirty seconds. Better still, record thirty seconds of silence, put on headphones, and turn the volume up. You will hear things the room hid from you.
Soften the space rather than deadening it. Hang a blanket behind you, put cushions in the corners, stand a bookshelf where it helps. A room that is too dead sounds airless and strange; you want the voice to sit in something, not in a vacuum.
Set the microphone on a boom arm or a stand with a shock mount, never flat on the desk. Keep it roughly a hand-span from your mouth, angled slightly off-axis so you are not speaking straight into the capsule. A pop filter — or, in a pinch, a pencil held vertically in front of the grille — will spare you a lot of plosive repair later.
The short gear list
You need less than the forums suggest. Start here and stop:
- One microphone. A USB microphone will do for a first project; an XLR microphone with an audio interface gives you more room to grow.
- Closed-back headphones for monitoring, so nothing bleeds back into the take.
- A stand or boom arm with a shock mount to keep handling noise out of the recording.
- A pop filter.
- Editing software — anything from a free editor to a modest paid one. Learn five functions well rather than fifty badly.
- A notebook, paper or digital, for take notes.
Do not buy another piece of equipment until the room and the script are sorted. Neither of those costs anything, and both affect the result more than an upgrade will.
Set levels once, then test properly
Record at 24-bit, and choose 44.1 or 48 kHz — either is fine for spoken word. Set your input gain so that loud moments peak somewhere around −12 to −6 dBFS. Headroom is not wasted space; it is insurance against a laugh or a shouted line that clips.
Test at performance volume. Narrators often whisper into the microphone to check levels, then deliver the story at twice that loudness. Speak the loudest line in the script during the test, not the quietest.
Record twenty seconds, listen back on headphones and then on a small speaker. Listen for hum, plosives, sibilance, and clicks from your mouth. Adjust your distance from the microphone before you touch the gain — moving two inches is usually a better fix than a fader.
Before the real take: put the phone in airplane mode, close the door, silence notifications, and clap once at the start of the file. That clap gives you a visible spike for aligning takes later.
Record in one flow, repair afterwards
Record whole paragraphs rather than sentence by sentence. Stopping after every line destroys your sense of pace and leaves you with a hundred tiny files to stitch together.
When a line goes wrong, do not stop the recording. Pause for three seconds, repeat the sentence from its beginning, and carry on. The pause makes the bad take easy to find and cut. Keep a pencil on the script and mark the paragraph number each time you redo something, so you are not hunting through an hour of audio for one stumble.
Also capture a minute of room tone — silence in the same position, same settings — and save it separately. You will need it when you start smoothing edits. And take a real break every half hour or so; the voice tires before the ears do, and tired voices flatten out in ways no plugin will restore. Save the project file obsessively.
Cleanup that helps, and cleanup that hurts
Editing is where beginners do the most damage. Work in this order, and keep every step modest:
- Tidy the timeline. Remove false starts, long gaps, spoken slates, and the breath you took before every paragraph.
- Reduce noise gently. Sample the room tone, apply noise reduction, and stop at 6–10 dB. Heavy reduction leaves a watery, metallic residue that is worse than the hum.
- High-pass filter around 80 Hz to clear rumble and desk thumps.
- Shape with EQ in small moves. If the voice sounds boxy, cut a little around 200–400 Hz; if it sounds dull, a gentle lift near 3–5 kHz. One or two decibels at a time.
- Compress lightly — a ratio around 2:1 or 3:1 with a slow attack — to even out the distance between a whisper and a shout.
- Normalize for delivery and check that peaks stay below −1 dBTP.
- Listen on a phone speaker and on earbuds before you export. That is where most people will hear it.
If you can hear the processing, you have probably done too much. The goal is a voice that sounds like it is in the room with the listener.
Finish something small first
Pick a story you can narrate in twelve to fifteen minutes. Record it in one session, clean it up the same week, and publish or share it before you start anything else. A finished short piece teaches you more than three abandoned ambitious ones.
Keep a session log: date, microphone position, gain setting, room, and one thing you would change next time. After four or five entries you will have a personal workflow that no general guide can give you, because it will be built from your own room and your own voice.
Photo: AndNowProjekt / Pixabay